
I’ve been adding capabilities to my Mac Mini since powering it up the middle of this past week. After performing all the necessary OS updates, I installed Xcode 6.2.2. Xcode comes with a series of tools, one of which will be shown later in this article. The installation of Xcode is important to the clean installation of two Java-based tools later on in this post, Android Studio and IntelliJ IDE 14.
System Specifics
- Mac mini Server (Late 2012)
- Processor 2.3 GHz Intel Core i7
- Memory 4GB
- Two, 2 TB HDD
Preconditions
- Mac OS X Yosemite Version 10.10.1 (update free from App Store)
- Mac Server 4.0.3 (update free from App Store)
- Xcode 6.2.2 (installed free from App Store)
- Apple’s Java (Java 6) is not installed
Software Installed
- Oracle Java 8 update 31 64-bit for Mac OS X
- Android Studio version 1.0.1
- IntelliJ IDEA Community version 14.0.2
Installation of Latest Java
Download the latest version from the Oracle Technology Network. You should be able to find the latest under New Downloads in the upper right corner of the web page. For this example I’m installing the 64-bit Java 8 update 31 (jdk-8u31-macosx-x64.dmg). After download start the installation by clicking or double clicking, depending on where you find the dmg file, to launch the installer.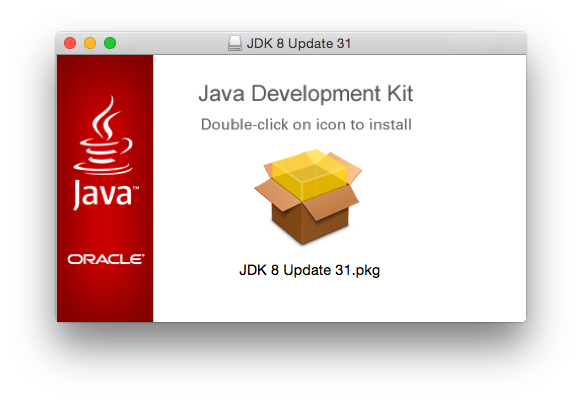 Simply follow the directions and double click the icon (the transparent yellow square in the open box) to start the installation of Java. The first screen presented to you will be an introduction. There’s very little there, so click through.

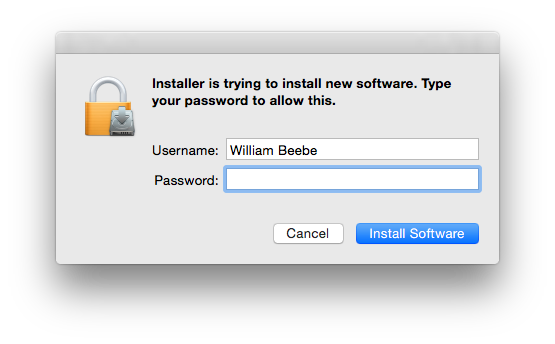 When you click to install, it will ask you for your login account password, so type it in to continue.
 The installation is a simple progress bar. When it reaches the end all the software will be installed on your system. The last dialog is the summary with a close button. Once installed you can add a JAVA_HOME variable if you like with an “export JAVA_HOME=$(/usr/libexec/java_home)” in your .profile, but I don’t believe it’s necessary. You certainly don’t need to edit $PATH, as there are links to java, javac, and jar in /usr/bin.
You can, if you also wish, download from the Oracle site the Java 8 demo examples. They’re all in a zip file. Once unzipped you’ll find all the demo and example applications that were once bundled with Java. Also included in this collection are example JavaFX applications which are well work looking at. JavaFX is so much better for UI development than the older and much worse looking Swing.
Android Studio and IntelliJ 14 IDE Pre-Installation Preparation
The installation for both is very similar, which they should be, considering that Android Studio is based on IntelliJ IDE. For both download their respective dmg files, double click them to open them in Finder, then drag them into the Application folder. Once in the Application folder you need to make a change to their respective plist files. Find the applications in the Application folder, and right click on them. Select Show Package Contents from the menu.

When the Contents folder appears, click through to the contents where info.plist is located. Double clock on info.plist.
 When Xcode opens up the plist (you did install Xcode, did you not?) open up JVMOptions, then select JVMVersion and clock on the string to edit it. The string, as shipped, is “1.6*”. Note the asterisk. If the string is left this way you will be prompted by both applications to install Apple’s much older Java 6. Changing the string to “1.6+”, with a “+” replacing “*”, tells the application to use the version of Java installed on the machine. Save this file and then double click the application to finish installation configuration.
For Android Studio I chose to download the separate Android SDK and install it (for my purposes) under $HOME/Java. The SDK comes as a zip file, so unzipping it under $HOME/Java produces $HOME/Java/android-sdk-macosx.
Installing Android Studio 1.0.1
With everything properly prepared, we’re ready to finish Android Studio’s installation (and IntelliJ if you’re so inclined). I’m only going to show Android Studio because it’s the more complex due to the Android SDK, but other than that they’re nearly identical.


 Make sure you open both top-level menu items and agree to their licensing.
 You’ll go through several minutes (or longer) of watching Android Studio download any Android SDK files it thinks it needs. This is just a typical capture of this process, and towards the end.
 We’re finally done!
 And ready to start development. The installation of IntelliJ is essentially the same but shorter. I’ll spare you the details.
Notes to The Gentle Reader
- If you think this is overly complicated, it’s not. It’s no worse (and some might argue even simpler) than installation on Linux and Windows. The only obscure piece I had to go looking for was the plist adjustment. This information is missing on both Google’s Android Studio and Jetbrain’s IntelliJ IDEA websites. You’re welcome.
- This is an initial install. I have no idea what will happen when I update Java, and I will update Java as each version is released. You update for the bug fixes. Failure to update any software is an invitation to grief, which is so easy to avoid. If any problems crop up when an update occurs then I’ll post an update about it here.

You must be logged in to post a comment.