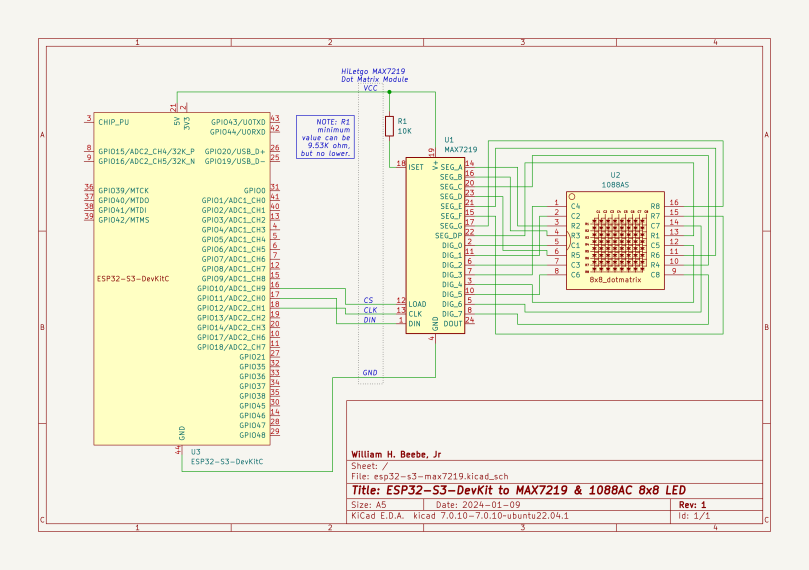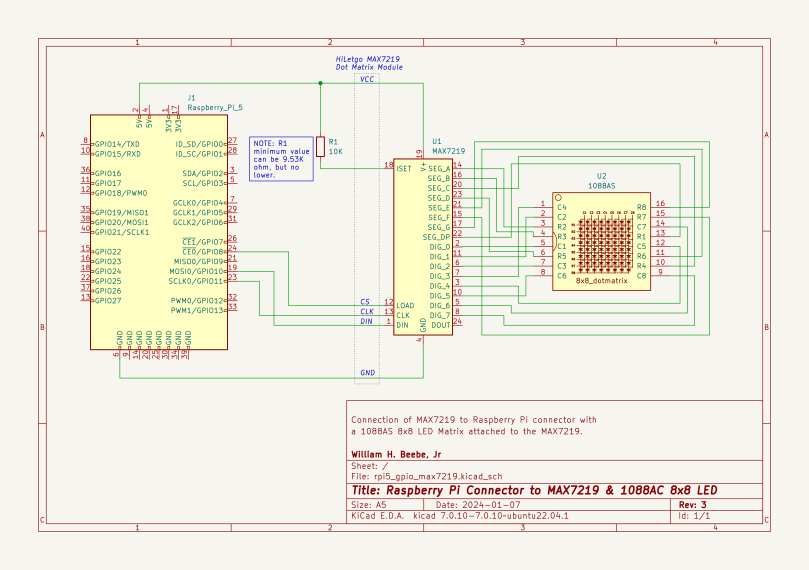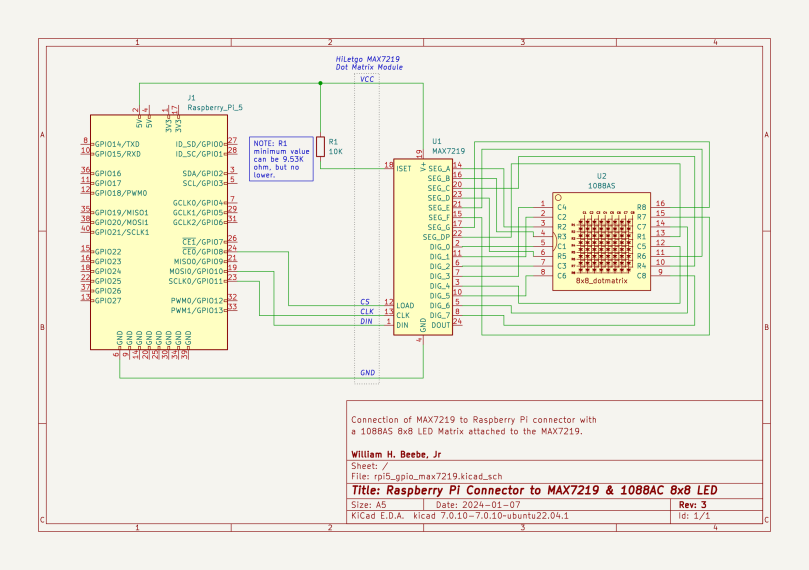
I’m designing a circuit that uses an ESP32-S3-DevKit1 to drive a MAX2719/7221 and 1088AS, just as I promised in the last post. The broad steps are:
- Write software to communicate with the MAX7219 and 1088AS,
- Write software that enables Bluetooth on the ESP32-S3,
- Write software on both the ESP32-S3 and Raspberry Pi 5 to communicate status and messages to display on the 1088AS.
In order to create the schematic diagram in KiCad I had to import symbols for the Espressif components. There’s a link at the bottom that leads to Espressif’s GitHub repo, complete with instructions on how import those symbols into KiCad 7. The Espressif instructions are short, sweet, clear, and they work without exception.
I’m also reading Espressif’s documentation on how to work with the ESP32-S3’s SPI port.
Links
- Espressif KiCad Libraries — https://github.com/espressif/kicad-libraries
- SPI Master Driver — https://docs.espressif.com/projects/esp-idf/en/latest/esp32s3/api-reference/peripherals/spi_master.html


You must be logged in to post a comment.