
I’ve had the Pimoroni scroll:bit for a little while now, and I’ve managed to work with it and get it to perform a number of straight-forward activities. I’m writing some observations and comments based on my successes using the device.
The scroll:bit is purpose built for use with the BBS micro:bit, which in turn is easily used with the Raspberry Pi by communicating with the micro:bit over USB. I’ve been using it with my Raspberry Pi as a simple CPU temperature readout, as you can read in my earlier post. Working on that temperature readout utility taught me how to communicate with the micro:bit and to use the micro:bit to communicate with the scroll:bit. It’s very straightforward and easy to understand (at least for me), and it’s very nice to use Python on both the Pi as well as on the micro:bit itself.
For more detailed control of the micro:bit and the scroll:bit, I use the Mu editor. It’s available in the Raspian repo via ‘sudo apt install mu-editor’. Once installed it’s very straightforward to start and use with the micro:bit and any devices attached to the micro:bit. For example:

The Mu editor is displaying a very simple program that lights up every one of the scroll:bit’s LEDs. The Mu editor is more than just a Python editor. It is capable of fully controlling the micro:bit, allowing the programmer to directly program the Micro Python application directly to the device. For even deeper delving, the Mu editor has a REPL capability where you can work directly with the Micro Python interpreter just like you can with regular Python REPL. That comes in real handy when you’re trying to debug a single statement, or just want to try out a one-line coding trick to see how it really runs. If you’re not familiar with the Mu editor then you should install it and give it a try. It will reward you quite well with its easy to learn, powerful capabilities.
from scrollbit import set_pixel, showbrightness = 32for row in range(7):for col in range(17):set_pixel(col, row, brightness)show()
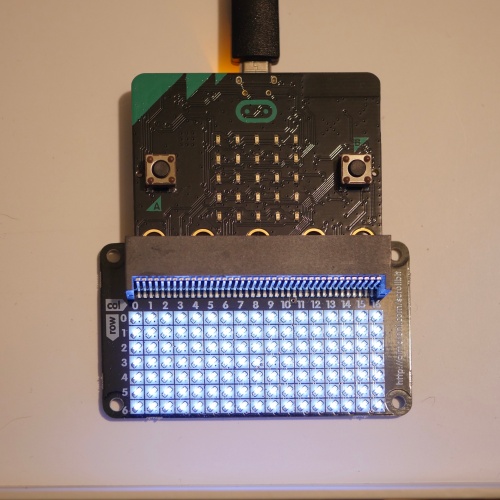
The example application was written to turn on all the LEDs on the scroll:bit while running on the micro:bit, which is what the lead image shows. There’s hardly anything to the application. I used variables in the call to set_pixel() instead of raw values so that it’s obvious what each one of those variables do. LED brightness can vary from 0 to 255; I chose a low value of 32 to keep from blowing out the taking camera with extreme contrast between the LEDs and the rest of the area. When those LEDs are set to brightness level 255 they are very, very bright.
USB is an acronym for Universal Serial Bus. With the Raspberry Pi and these even smaller boards, that bus is a powerful way to weave all the tiny computers together into interesting combinations. The Raspberry Pi touts its GPIO pins and I2C/SPI connectivity, but USB is no less powerful. I look forward to doing more with the micro:bit as well as another device I have in my tool box, Adafruit’s Circuit Playground Express. All these devices are run with ARM M0 processors. They don’t run nearly as fast as the Raspberry Pi’s CPU, but then they don’t have to.
When I look at all I have to work with between these various devices, I think back on what I had to do 40 or so years ago starting out in embedded design. I would have given my right arm for any of this and its ease of use. Instead, the company I worked for had to spend tens of thousands of dollars for very special test equipment and a lab for me to test my designs in the performance of my job. It’s all quite amazing how much you can do today, for so very little expense, and ease of use.

You must be logged in to post a comment.