panasonic lumix dmc-ts20

Very old camera on an old iPhone 11 Pro Max for scale

The Panasonic Lumix DMC-TS20 (hereafter referred to as the TS20) is a camera that was introduced in 2012, some twelve years ago. I purchased two copies, one for my wife, and a second as a backup in case my beloved managed to destroy the first copy. My beloved is hell on technology, but I digress…

We used the cameras on a road trip up to Toronto the same year I’d bought the cameras. We’d purchased a pair of 2012 Toyota Priuses, one black and one white. The white one was mine and that was the one we took on the Canadian road trip. The TS-20 worked marvelously, and I used mine when we took the Niagara Falls boat trip. I managed to pick up some interesting (for us) photos as we traveled right up into the mists at the bottom of the falls.

My wife used hers for a while until one day I put them into storage until we decided to take them out and use them for, whatever. Unfortunately we both forgot about them in the ensuing years. In late 2012 I had my first knee operation, then in 2013 I got laid off, and then I got another job that had lots of travel including my first overseas trip to Japan that December, and then events began to jumble together and I lost track of a lot of things, the cameras being a minor part of that. I guess the reason I blog is to document enough so that I can go back and be reminded of what I can no longer remember…

What’s interesting about this camera is its sensor, a 1/2.33″ CCD 16MP sensor with IBIS. Keep in mind that when this camera came out Panasonic was working with Olympus on the micro four thirds standard, so I suspect that some of that in-house expertise spilled over into other cameras that Panasonic was still making at the time. But not with the sensor. The micro four thirds cameras all used CMOS. It was only the earliest prior four thirds cameras that used CCD sensors, such as the Olympus E-1.

When I found the cameras, of course I couldn’t find the chargers. That would have been too logical for me to store the chargers with the cameras. I looked everywhere, but in the end wound up buying a pair of Wasabi Power chargers, along with a pair of Wasabi Power BTR-BCK7-JWP batteries. What is surprising is that the Wasabi battery at 1100 mAh has nearly double the energy capacity of the Panasonic’s 680 mAh capacity. I did manage to charge both the original Panasonic batteries as well as the Wasabi batteries, which provides me with plenty of extras for when I go out and use this very-old-but-new-to-me-again camera.

Using the TS20 is a lot like using a cell phone these days for taking photos. You hold it up to compose on the rear screen, then press the shutter on the top edge, and then you’re done. For example:

Walmart Marketplace
Abandoned CVS drug store

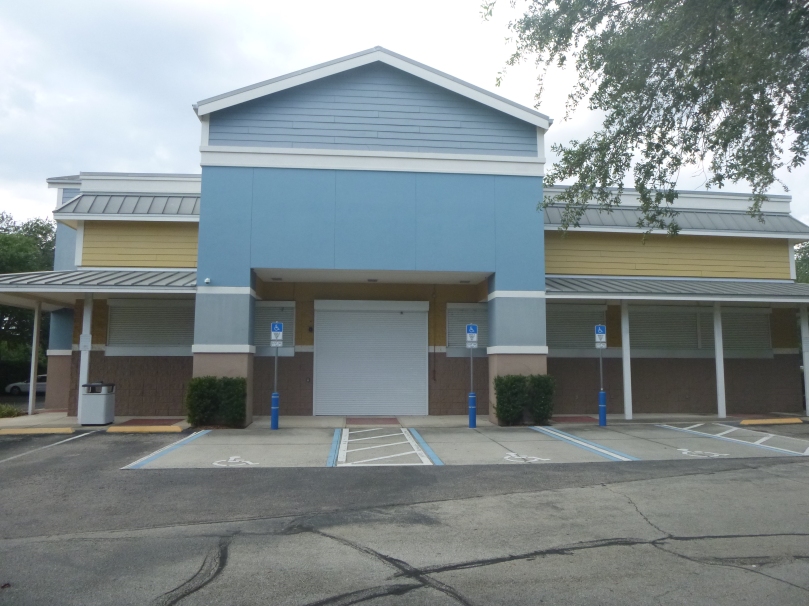
Open up either of those photos, taken in full Florida sun, and you’ll see grain galore in the shadows. So much detail is lost that if you enlarge the CVS photo and try to read the handicap signage, you can’t. But I don’t care. I like the colors and I like the camera, and as I’ve said so ofter all that matters now is enjoying the use of the camera and the results. And I do enjoy using this camera. If I want flesh-cutting sharpness I have more cameras and lenses than I can shake a stick at. It might be interesting to take the output of this camera and see if there’s an AI tool that can smooth the noise and upscale resolution so I could read the handicap signage.

The TS20 also calls out another problem with The Present, and that’s with our abandoning of cameras such as the TS20. I’ve often wondered what would such a camera be like with up-to-date sensors and electronics. Because I can tell you from my current perspective I’ve discovered I much prefer the handling of the Panasonic over the Apple. Oh well…

more backup adventures, this time with my macbook pro m1 max

Seagate Backup Plus Hub Drive 6T

Once upon a time, say back around 2016 or so, I purchased a monstrous (for the time) 6 TiB drive called the Seagate Backup Plus Hub Drive. I don’t recall how much I spent, but I’m pretty sure I purchased it from my local Costco, a brand they sold for many years until recently. I’m sure it was on sale at the time, being the cheap person I am. I used it for a few years, at least up until 2019, when I stopped using it and put it away in one of my cabinets. I can’t recall why I stopped using it, but it sat unused for about the next five years until today.

In the last post I wrote about backing up my iPhone 11. That’s all well and good, but until today I didn’t have a backup drive for this newest MacBook Pro. I’d tried to purchase another 5 TiB Seagate Backup Plus Portable from Costco, but the warehouse no longer carries them. When they did I could purchase them for $99, which isn’t bad at all. I have four of them already, for each of my various Macs. Looking online at both Amazon and Walmart, I can purchase a new one for about $160. When I saw the cost of those my memory was jogged a bit and I went and pulled out this now-old Seagate Backup.

macOS Disk Utility attempting to format Seagate Backup Plus Drive

The first thing I did was plug it into my MacBook, and sure enough it mounted and I was able to at least read the drive contents. The drive had come preformated as NTFS, because at the time I was still using my 17.2″ Samsung notebook computer and that backup drive’s primary use was meant for Windows 10 Pro. I used it for that purpose a number of times, but around late 2019 I began a hard switch to Linux and, of course, macOS. That switch is the reason why I pulled the Windows 10 SSD out of the Samsung and put in a fresh blank SSD, and then installed Linux Mint on it. Except for a Parallels VM with Windows 11 installed, I don’t run Windows on any of my personal systems any more.

Once the Seagate was plugged in and mounted, I attempted to reformat the drive as APFS with case sensitivity. Long story short, that’s the file system you should format on any drive meant for any contemporary Mac. I’ve read enough older junk on the web saying Apple created this so it would run efficiently on an SSD, and that may have been true to start with, but any version of macOS that came after 2014 used this, so I might as well get with the program.

The only problem was I decided to select the option where the entire drive would be scrubbed with binary zeroes, with a total of seven passes. I chose poorly. After waiting nearly four hours, the first pass had barely started. I killed the Disk Utility process, then proceeded to reboot my Mac because the act of killing Disk Utility made working with the Seagate null and void. Once the Mac was rebooted, I restarted the Disk Utility and allowed it to sanely format the drive, which it promptly performed in less than a minute.

So now the Seagate’s attached and Time Machine has performed it’s first full backup of this Mac; about 140 GiB in about 20 minutes. That Mac backup includes my iPhone backup to the Mac, so now I’m (I hope, fingers crossed) doubly backed up.

By the way, the name of the backup drive is named BACKUP6T (for terabyte). I don’t expect anything terrible to happen with this older backup drive. You can still purchase them with capacities up to 14 TiB. I also need to read one more time what the two USB A ports are used for. According to the flashy documentation I can use those front ports to backup “your files, precious photos and videos while connecting to and recharging your tablet, smartphone or camera.” I can certainly appreciate backing up my iPhone, but since I’ve never done that kind of backup before it will be another adventure!

Links

Seagate Backup Plus Hub Drivehttps://www.seagate.com/products/external-hard-drives/backup-plus-hub/