
I suddenly find I have need to do a little Java development. It’s been a long time since I dipped my fingers, as it were, into writing Java code. This was back around Java 9 (September 2017) and it was such as mess with the way Oracle had blown up Java’s libraries that I just basically walked away from Java. I still install it when I need it because I have some tools that depend upon the Java runtime.
Here I am trying to come up to speed, which at this point in my life may be impossible. I haven’t changed so much as Java has. Right now I’ve installed Java 21, what now passes for an LTS. I’ve installed the JDK and an IDE to work with it on my M1 Max MacBook Pro. Here’s what I did to get something working.
First I tried to install the JDK. I went searching for the latest LTS that would run on aarch64/arm64. When I searched on Duck Duck Go, I got nothing but hits on installing the Oracle version, which is not what I wanted. Instead I had to remember to search for Adoptium ( https://adoptium.net ). Rather than take the default offered on the landing page I chose to go to the alternate downloads page and pick it that way;
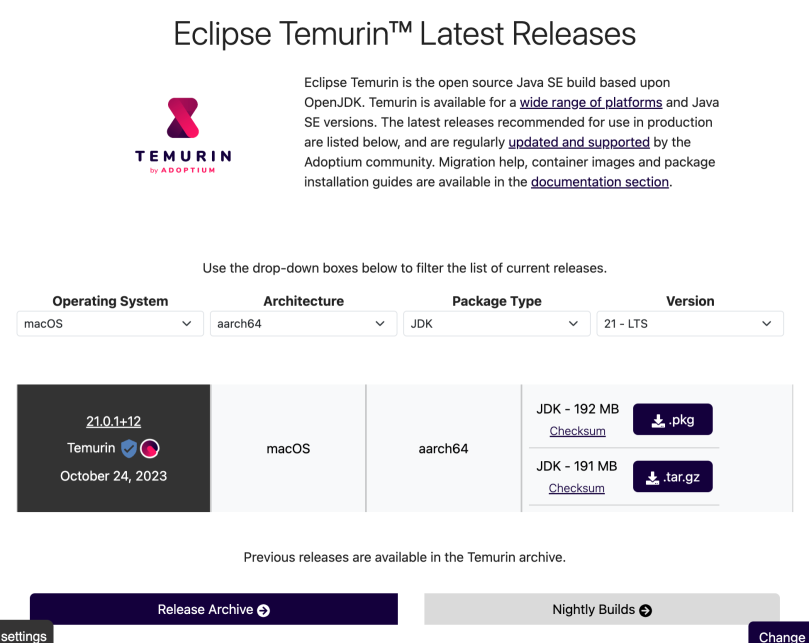
As you can see I whittled my choices down to two. I went with the .pkg because it’s a Mac, so that should be a no-brainer installation. That was a mistake. It installed alright, I just don’t know where. I came back and downloaded the tar.gz archive, unpacked it in a location in my local folder, defined JAVA_HOME to point to the location and then added it to my path. Once that was all done I could do a java --version and get the LTS version release.
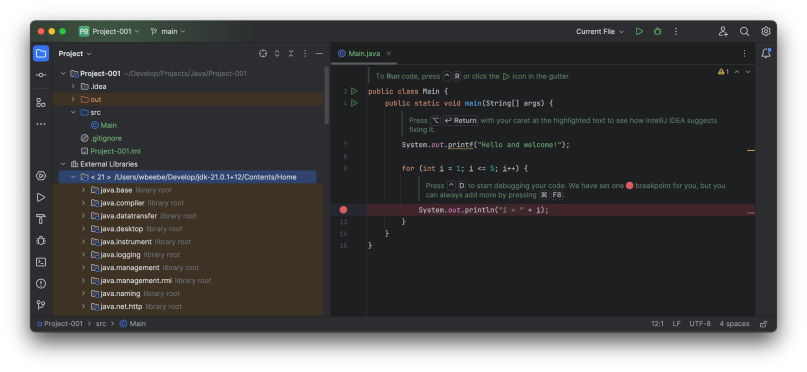
I then decided to install NetBeans 20. I was a long-time NetBeans user and felt comfortable trying it again. The problem is that it would never find my installation of Java. I finally went into the app directory structure and ran, from the command line, ./netbeans --jdkhome $JAVA_HOME, at which point it finally came up. I was able to set up a decent look-and-feel and began to get comfortable with it. I even checked to see if NetBeans knew about the local Java installation, and it appeared to. However, when I closed NetBeans and tried to start it via Launchpad, it failed to start just like before. After that I removed NetBeans and installed IntelliJ IDEA 2023.3.2 (Community Edition) and immediately got to work learning how to get productive with it. I’ve used IntelliJ tools in the past for a number of years and I’ve never been disappointed. This time I chose to use the Community Edition because I didn’t need the full-blown suite, and I don’t have the funds right now to pay for a full commercial license. Maybe if this bit of work leads to something more substantial then I’ll expense it. Right now I’m just getting started.
So far the choices I’ve made appear pretty solid, and IntelliJ IDEA is a very nice environment.


You must be logged in to post a comment.