
Here we are with a copy of Ulysses installed from the Mac Store. Finding it was very simple, installing was nothing more than a simple click.
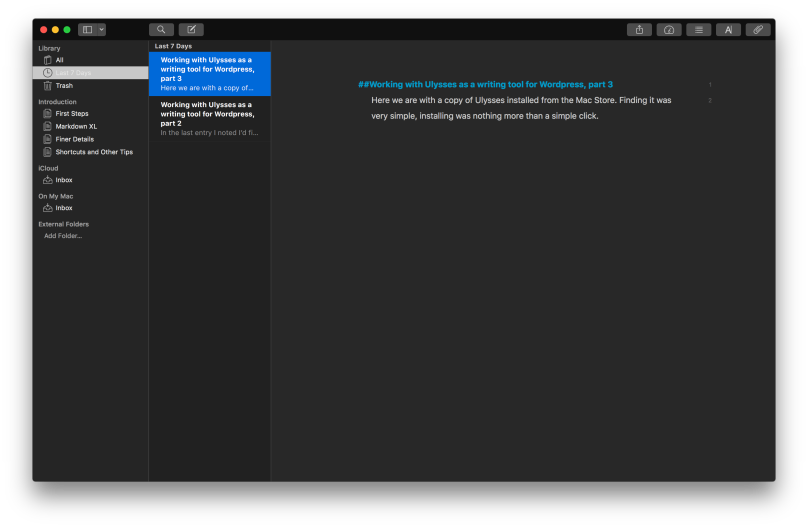 If you notice I do like my dark mode. I’m in my early 60’s, having gotten my start in the days when I was staring at green or amber text on a black CRT screen (VT-100, Hercules video card on an IBM PC/AT, etc). I’ve never been a fan of the light/paper-like screens that have been so popular for nigh on 20 years with the advent of the Mac.
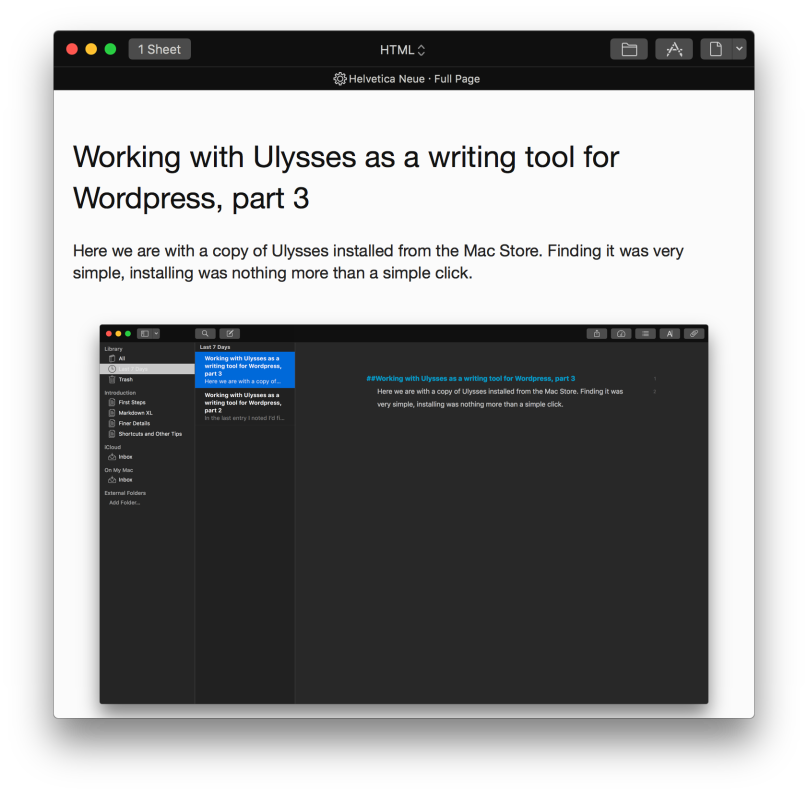
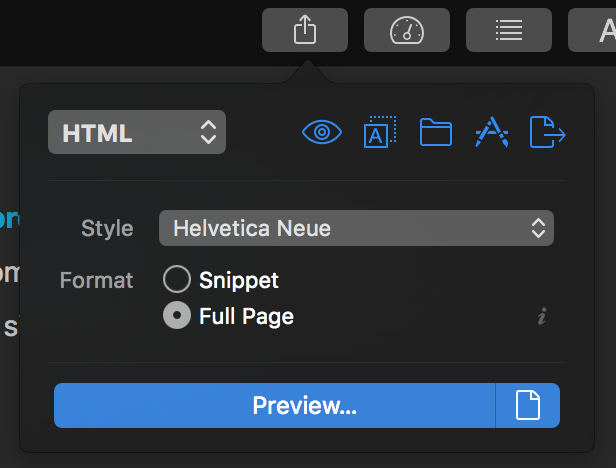
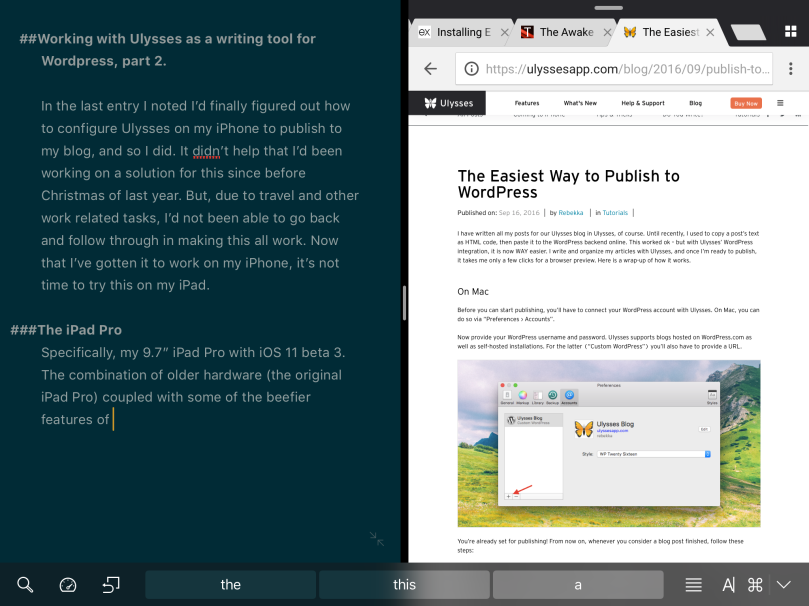
 Adding images is as simple as dragging and dropping into the working document. It shows up as a simple rectangular lossange labeled with IMG. That’s great for something simple, but there are times when you want to see what it looks like when published. That’s simple enough by clicking on Export (the box with the arrow pointing up) then click the Preview at the bottom of the dialog. This is what you see:
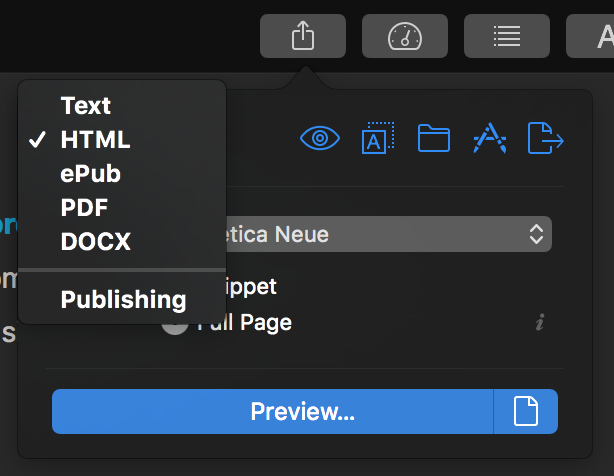
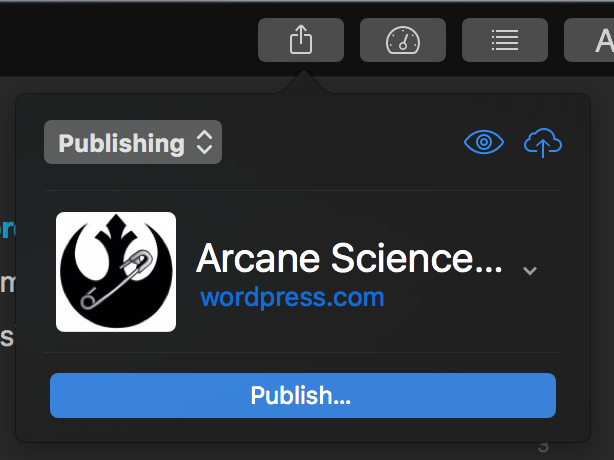
 To publish you use the same control, but you select the dropdown dialog where HTML is displayed, select Publishing down at the bottom, then when the dialog reconfigures, you’re ready to publish.
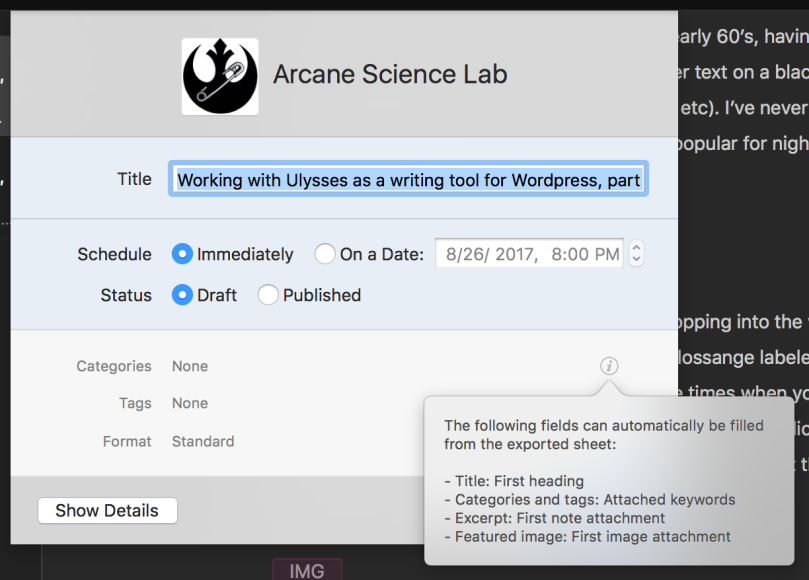
Note that the next dialog is larger with more information to fill out. But it’s pretty heavily automated as the ballon indicates:
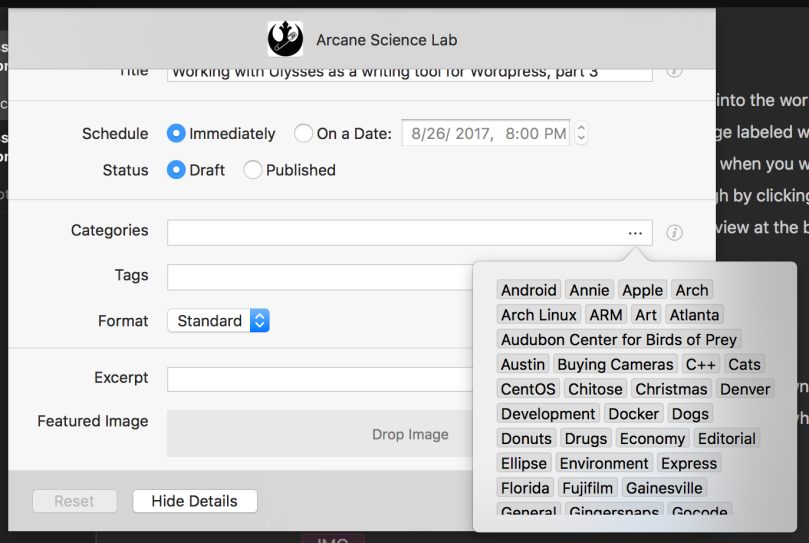
You’re still going to have to fill out any categories, which are all displayed for you to pick when selected, and you’re going to have to decide whether to publish as a draft or immediately. Other than that it’s pretty good.
I will say this. I much prefer writing with Ulysses than with the WordPress application. The WordPress developers are trying to hard to incorporate everything, including editing, while Ulysses is just about editing that allows minimal publishing to the WordPress blog. In the process Ulysses is so much better than WordPress, especially on iOS.

You must be logged in to post a comment.