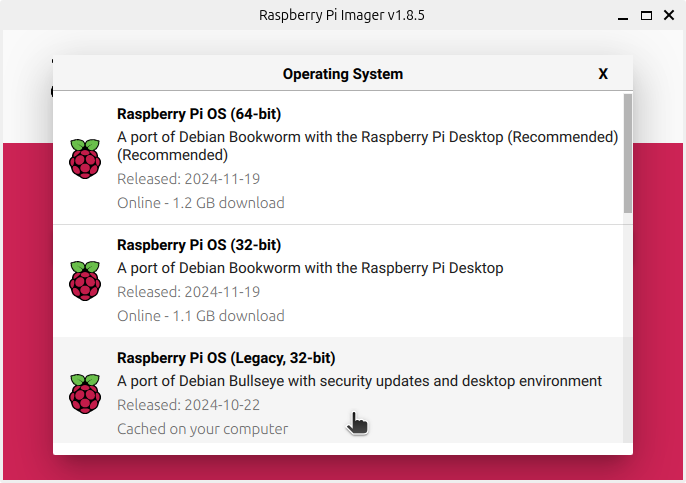
So after the first rather unsatisfying attempt to restore a Raspberry Pi 3 Model B Revision 1.2, I tried again, and this time found more satisfying results. The first thing I did on this second attempt was to create a new boot micro SDXC card using the Raspberry Pi OS 32-bit “legacy” version. This version is based on Debian bullseye, a.k.a. Debian 11. Current releases are based on Debian bookworm, a.k.a. Debian 12. I use the Raspberry Pi Imager these days to create boot cards for all my Raspberry Pi devices because it’s process flow is so simple to use. Pick the Raspberry Pi you’re working with, then select an OS, then select the boot device to flash the boot image to and wait for it to finish. The problem occurs with the recommendation for certain Raspberry Pis. As you’ll note in the screen capture, the Imager is recommending the current 64-bit version of Raspberry Pi OS. For a ten-year-old device with 1 MiB of on-board DRAM, that is a poor recommendation. Instead boot such Raspberry Pis with the third entry, the “legacy” release.
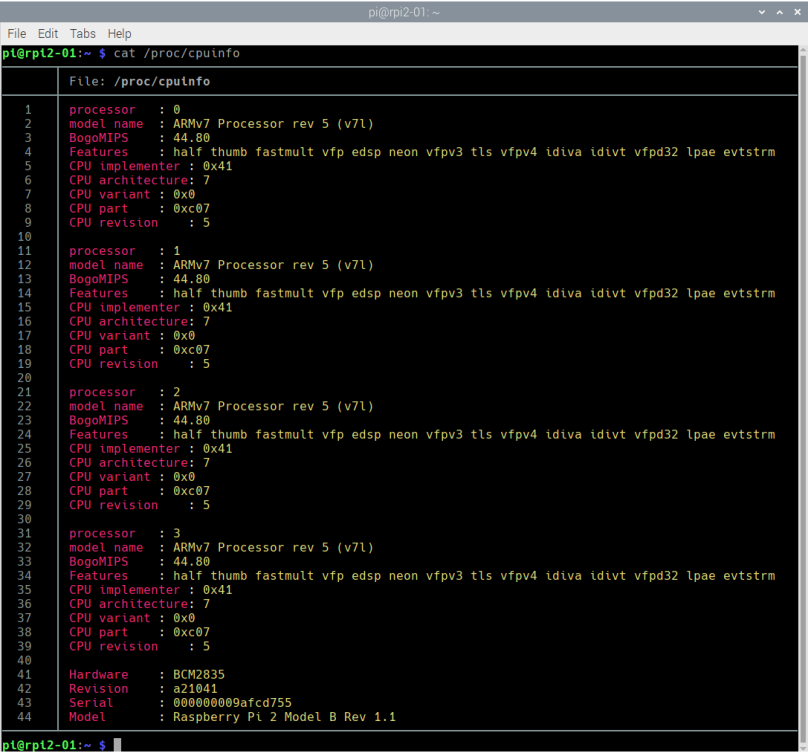
Once all that was done and the RPi 3 was booted, I did a bit of housekeeping to tweak things to my personal tastes. I was quite happy with the much snappier performance of the RPi 3 under the 32-bit bullseye-based version. I tried to install fastfetch, but it wasn’t in the legacy repo, so I fired up chromium and downloaded a version compiled for the arm7l architecture which the RPi 3 was running as.
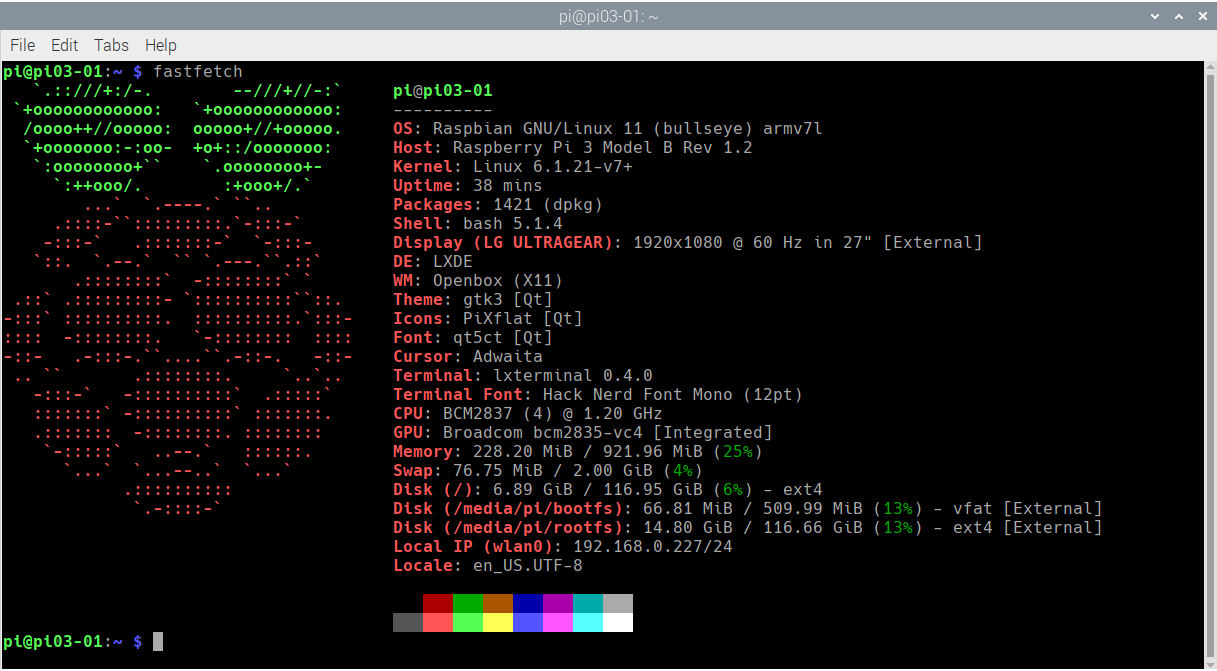
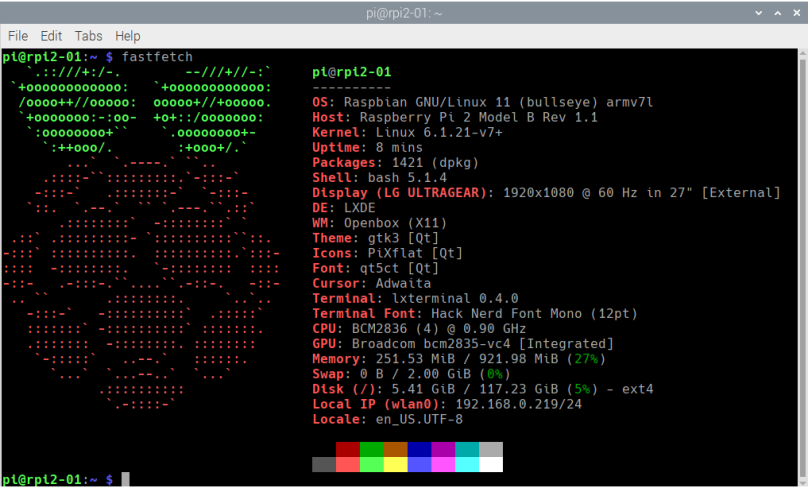
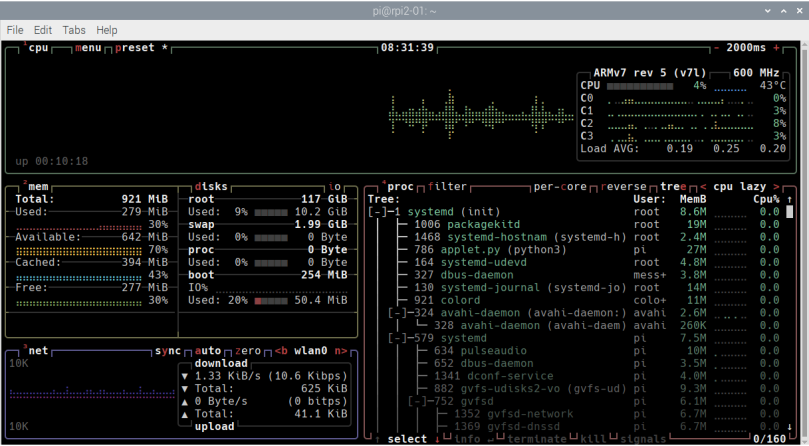
I always create a bin directory in my home folder to hold tools I will only run when I’m logged in. I add that local bin to my path as well. That’s where I unpacked fastfetch to. You’ll note that we are indeed running under Raspbian based on Debian bullseye. This is far more advanced than the version on the board when I put it away years ago; Raspbian based on Debian stretch. You’ll also note I bumped the swap space from the default 100 MiB to 2 GiB. Here’s an image of why that’s so important.
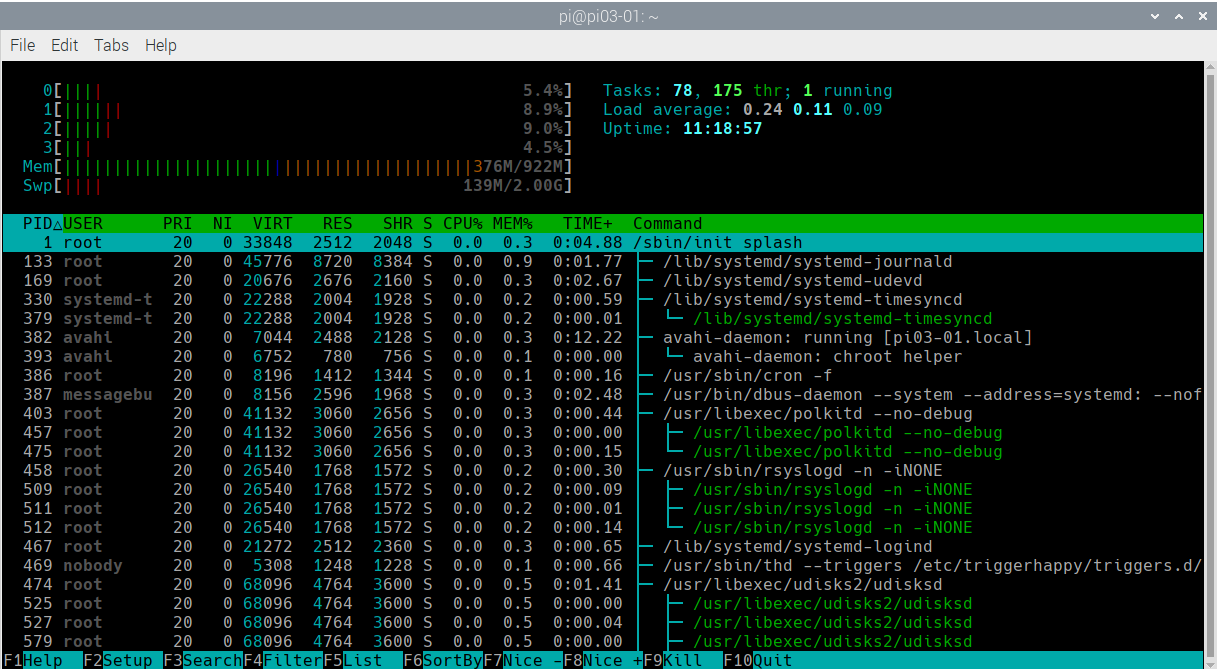
With the system booted and running, with three open terminals of which one was running htop, and Chromium up with only one tab pointed at the Raspberry Pi Sense HAT documentation, swap had already hit 139 MiB. Exhausting swap is a guarantee to crashed applications and a system that is so sluggish as to be for all practical purposes locked up. I’ve already documented how to fix this in the first attempt to resurrect this board, link at the bottom. I decided to only expand swap to 2 GiB instead of 4, just to see if I actually needed to. Turns out I didn’t need 4 GiB, and I probably could have even defined even less, such as 1 GiB.
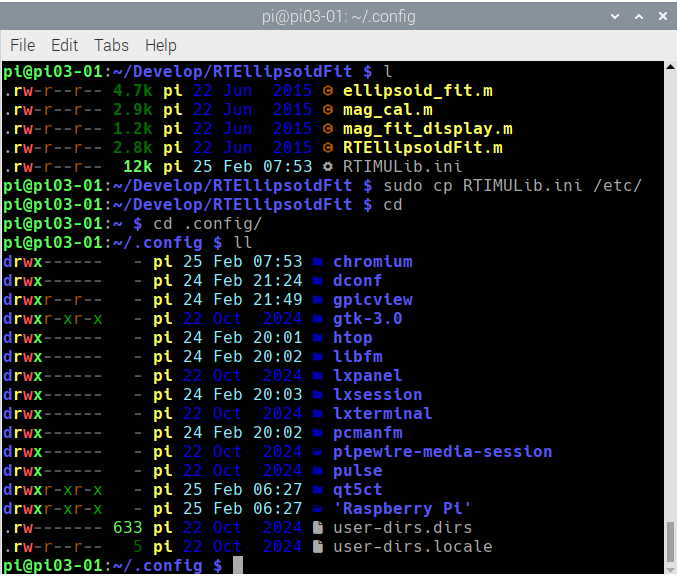
Once the RPi 3 was up and stable I added a few things to the environment to make it more to my liking. I added the Nerd Hack fonts, and set the shell to use them, then I installed the Rust compiler and tool chain. From there I used cargo to install eza, a more sophisticated ls, and bat, a much better cat alternative. The shell above shows the results of using the Nerd Font and eza via an alias for ls. I show this because one of the first major tasks was to get the Sense HAT operational, and for that I installed the sense-hat package.
I point this out because if you follow the instructions for the Sense HAT documentation, the instructions have you install the sense-hat package, then Octave, then go through the steps of calibrating the sense hat. This left me with the erroneous assumption that the calibration software was a part of Octave, which it is not. You do not have to install Octave to work with the Sense HAT. The instructional also state that the result of the calibration, the file RTIMULib.ini, is in two locations, one of which is under ~/.config/sense_hat. There is no ~/.config/sense_hat folder created.
The RPi 3 is now operational enough I can begin to seriously think about using it for headless and unattended operation somewhere around the house. I’ve yet to determine a specific task, but it’s ready for the next step. I intend to install Cockpit on it, as I have with several other Raspberry Pis in my household. If you want to see Cockpit in action, just a teensy bit, here’s two screen captures of it in operation using Chromium on my Raspberry Pi 5 to look at the remote Raspberry Pi 4.
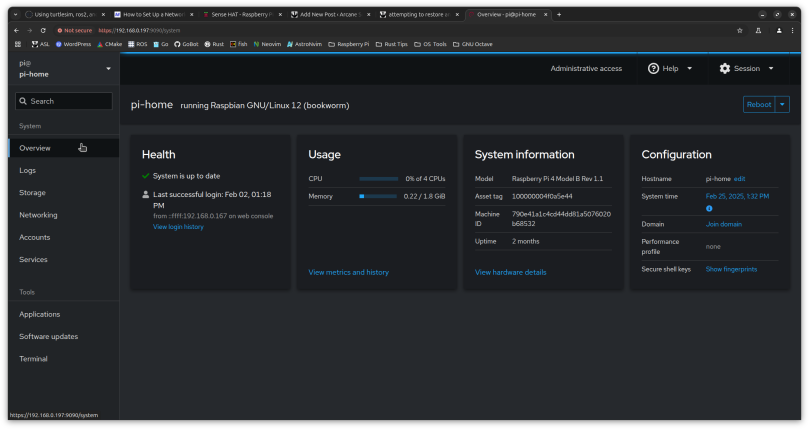
I have a Raspberry Pi 4, 2 GiB, running unattended and headless running Pi-hole. Rather than have to ssh into the system, I installed Cockpit with its much better web-based interface. Most of the time I live in the console.
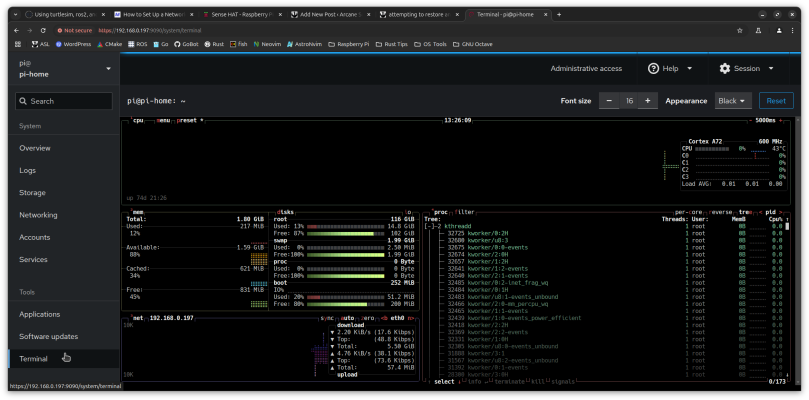
Right now I have disabled Pi-hole because an update came down the pipes and caused all sorts of screwy issues. That was sometime last year, and I haven’t felt the need to go in and sort it out, including (possibly) a complete re-installation of Pi-hole itself. Of note is the low memory footprint of bookworm, which is what you can get when you’re not running the graphical desktop. That is basically what I’ll do with the RPi 3, which is disable the graphical desktop and install Cockpit on it to manage it remotely.
The final question that needs to be asked is why? Because I have all this incredibly capable computing resources that are literally sitting in a corner doing nothing. I turned 71 last December, and I need to add as much automation to my household as I possibly can to help me and my wife live independent quality lives. I want a household automation system that I control and doesn’t depend on the “cloud.” I don’t want to wake up one day and read that my home devices will no longer work because the company that sold me those devices is going out of business and bricking all my expensive devices. I just won’t put up with that.
Links
Cockpit Project — https://cockpit-project.org/
Pi-hole — https://pi-hole.net/
Rust — https://www.rust-lang.org/
eza — https://github.com/eza-community/eza/
bat — https://github.com/sharkdp/bat/
attempting to restore an old raspberry pi



You must be logged in to post a comment.