
Back in September 2019 I wrote how I failed to build Qt 5.13 from its C++ source, which was the latest Qt release at that time(see /2019/09/02/an-absolute-failure-unable-to-build-qt5-on-a-raspberry-pi-4/ ). My primary reason to build the latest Qt was to step up the Qt version used in PyQt5. There were problems I’d discovered in the installed repo version, and I’d wanted to create a development environment where I could investigate, and if possible, try to fix any of those problems, with an eye towards pushing any fixes back up stream. That obviously didn’t work out, and I left the whole thing alone. Until now.
For whatever reason I decided to try again. Except this time, I used JetPack 4.4 on the Nvidia Xavier NX Developer Kit. While the Xavier is ostensibly for machine learning prototyping and development, the fact it’s based on Ubuntu 18.04.5, ported onto Nvidia’s six core ARM chip, makes it too tempting for me just to use for ML. And thus I decided to try to run with the latest PyQt5 on the latest Python 3 release.
Installation
I’m starting from my Python 3.8 installation inside an activated Python virtual environment. I’d documented how to build Python from scratch as well as create a working virtual environment here: /2020/05/24/building-python-3-8-3-on-jetpack-4-4-dp-and-the-jetson-xavier-nx/ , so I won’t go through that again.
However, before we really get started, you’ll need to install the basic Qt5 development tools, otherwise PyQt5 won’t install. You do that with sudo apt install qt5-default . That gives all the basic tools and support libraries.
With Qt5 default installed, activate the Python 3.8 virtual environment. I’ve since moved up to Python 3.8.5, and I’m getting ready to install Python 3.9 alongside 3.8.5 when it’s officially released. That’s another reason I like virtual environments; it’s incredibly easy to keep multiple Python versions on hand.
Within the virtual environment, do a simple pip install pyqt5 .
You might as well go off and do house work or watch an episode or two of your favorite streaming shows, because this is going to take a while (as in hours). No, I didn’t time it.
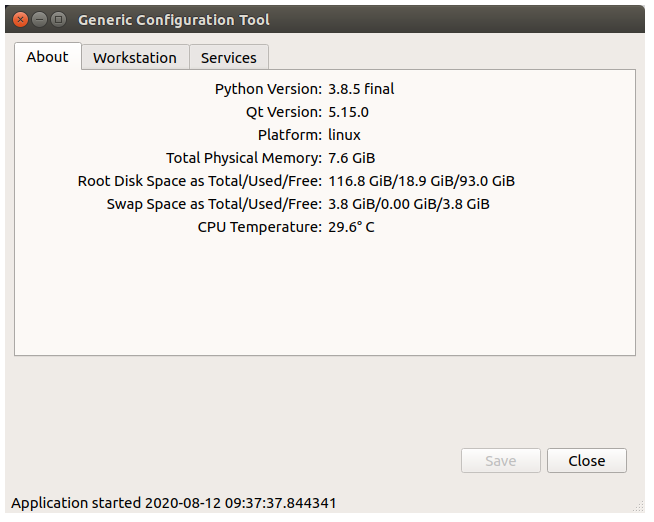
Once it’s done, it should announce it’s successful. From there you can work with PyQt5 within that virtual Python environment. I would strongly recommend you always work within a Python virtual environment. It all works with your regular security permissions (no sudo), and if you want to blow it away, it’s very easy to do so. I just don’t like adulterating the system installation of Python anymore.
So far, except for the long build time, everything is working without any drama.

You must be logged in to post a comment.