
I’m starting an informal series about all the little microcontroller experimenter boards I’ve been picking up, especially the inexpensive ones that cost US$10 or less. This post is about the SparkFun Pro Micro — RP2040, which can currently be purchased for US$10.95 from SparkFun ( https://www.sparkfun.com/products/18288 ).
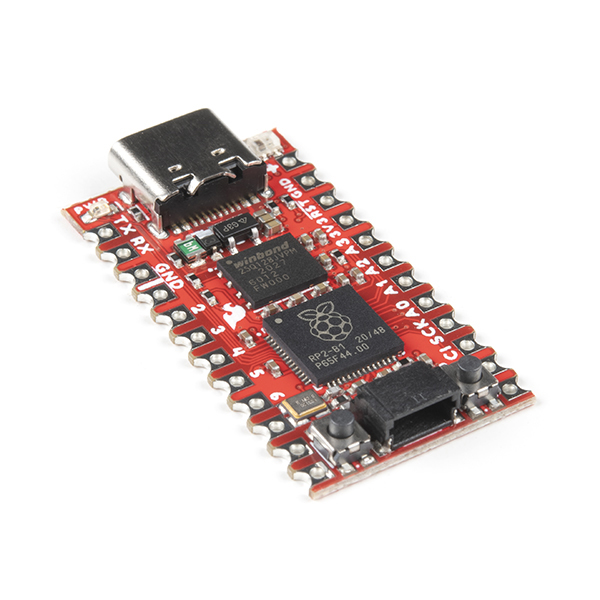
The Pro Micro is the same width and almost twice the length of the Adafruit QT Py ESP32-C3, another $10 microcontroller experimenter’s board. The board comes with castellated edges, providing the experimenter or designer with the ability to solder the board directly onto the surface of a larger circuit board. While there are far fewer I/O pins brought out to the edges as there is in a stock RP2040 Pico board, it does have four times as much storage flash (16MB), a NeoPixel LED in place of the standard red LED on the Pico, and a QWIIC connector on the other end. It also has USB-C in place of micro USB on the other end. For for an extra six dollars over the cost of a bare Pico you get a device that’s a lot more civilized. I think the inclusion of the QWIIC connector alone is worth the extra six dollars.

This is the most complete pinout diagram for a microcontroller I think I’ve ever seen. Not just the pins, but key functionality around the board is documented as well. You can do just about anything with only this diagram to refer to. But that’s just me.
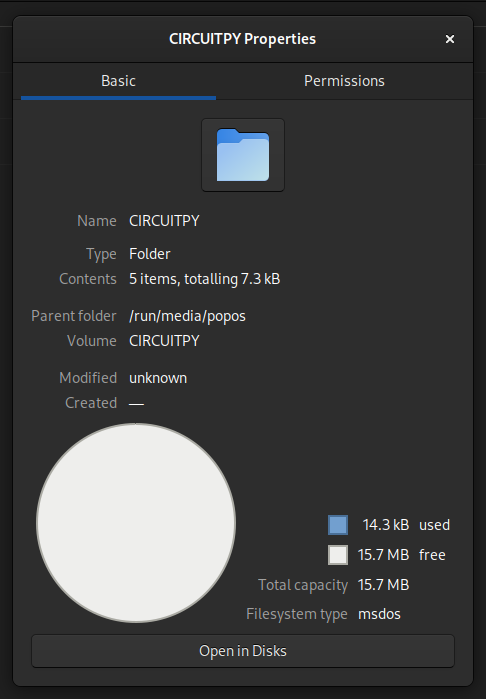
I want to call your attention to the boot and reset buttons at the bottom edge next to the QWIIC connector in conjunction with putting the Pro Micro in bootloader mode. Let’s say you want to put the latest Circuit Python firmware on this board. Plug a USB cable into your computer and then into the board. Press and hold the boot button. Press and release the reset button, then release the boot button. The RPI-RP2 flash drive will show up on your computer, at which point you can drag-and-drop (or copy in a console) the Circuit Python UF2 firmware to RPI-RP2. Once the UF2 firmware has finished copying, the board will reboot itself and the regular CIRCUITPY storage device for that board will appear on your computer.
And here’s my version of blinky Python code to blink the on-board WS2812 addressable LED.
"""NeoPixel blink example for RP2040-based boards such as the Sparkfun Pro Micro RP2040.The example requires two libraries from the Adafruit CircuitPython Library Bundle.Download the bundle from circuitpython.org/libraries and copy the following files to yourCIRCUITPY/lib folder:- neopixel.mpy- adafruit_pixelbuf.mpyOnce the libraries are copied, save this file as code.py to your CIRCUITPY drive to run it."""import boardimport neopixelimport timenp = neopixel.NeoPixel(board.GP25, 1)neopixel_colors = [(64, 0, 0), # red(0, 64, 0), # green(0, 0, 64), # blue(0, 64, 64), # cyan(64, 0, 64), # magenta(64, 32, 0), # yellow(0, 0, 0)# black]while(True):for color in neopixel_colors:np.fill(color)time.sleep(0.5)np.fill(neopixel_colors[-1])time.sleep(0.5)
These little boards are powerful, easy and cheap. And they’re a lot of fun to work with!
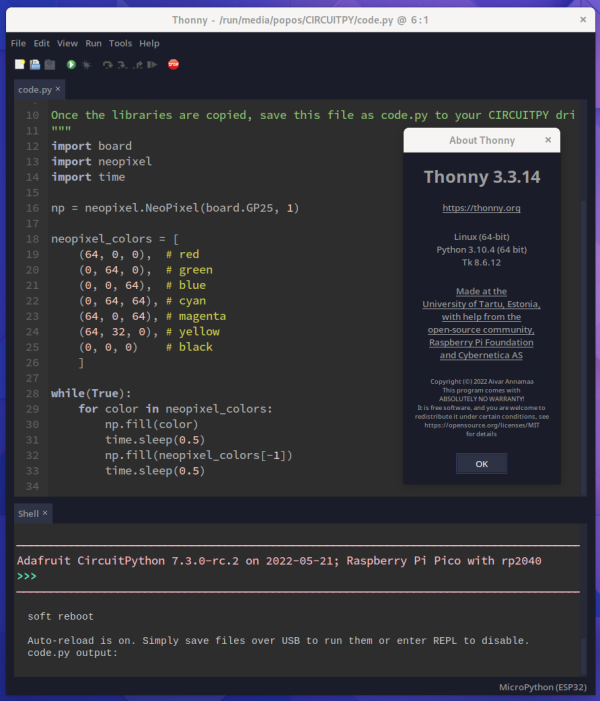
And for the sticklers, I’m using Circuit Python 7.3.0-rc.2, or release candidate two of the very latest version of Circuit Python (see https://circuitpython.org/board/raspberry_pi_pico/ ).

You must be logged in to post a comment.